Sewing a Mini-Mock FLowform
I tried my hand a making a Mini-Mock Flowform designed by Don Mock. Making one Mini-Mock drove me to try different ways of making one.
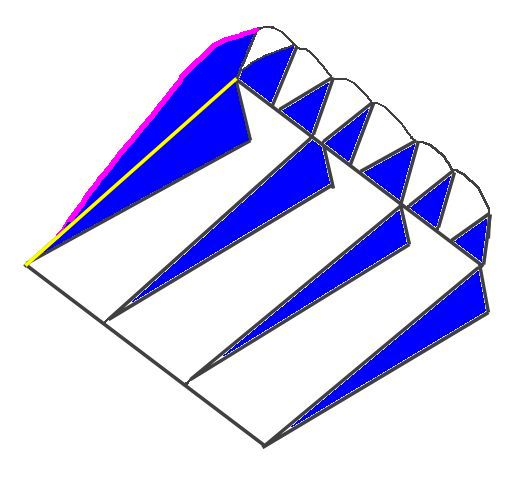
BASICS: The original Plan is stingy on lengths for the Top Panels. The first Mini-Mock I attempted to make, I used the Plan Dimensions. When sewing the Top Panels to the Ribs, I ran out of Panel before I ran out of Rib. For later attempts, I used 60" fabric and used the width of the fabric (60") for the length of the Top Panels.
I use a different Order Of Sewing that Don does. I always start weith the top of the starboard Rib. That way, the last seam, the Burrito Roll seam, is a straight seam, involving only the starboard Keel, starboard Bottom Panel, and the starboard Rib.
Another thing that I tried, and liked, that was different, was to use three 21" panels, instead of six 11" panels, for the Top and Bottom.
My allowances were 1/2", everywhere, for every thing. Hems, seams, all of it.
PARTS IS PARTS: There was once a TV commercial about chicken products that used 'chicken parts'. What parts? Parts is parts. It is my glib way of saying that while many parts, like the Panels, are interchangeable, ALWAYS take the time to label all the parts as they are cut.

The blue and white Mini-Mock that I made, I used 6 Top Panels, and 6 Bottom Panels, just like the Plan.

Above, 7 Ribs, 4 Keels, and a roll of 12 Panels, all set to go.

Above, a sandwich of a Rib and two Top Panels, hot tacked together near the Leading Edge. The beauty of using 12 individual panels is that each seam can be hot tacked, and the tacks are all inside the kite.

Above shows a quilting arm being used to sew the half-inch seam allowance when sewing the top of the Rib to the middle of a double (21") Top Panel. Below, see that there is a line on the Panel that is being followed. Also note that if this Rib were Hot Tacked in place, the holes of the tacks would be on the surface of the kite, and 'leak'. Masking Tape and Duct Tape were used to keep the Rib aligned for the first few stitches.

Above shows alignment of Rib as it is sewn.


Above shows what I found to be the best treatment of the Top Trailing Edge. After all the Ribs are sewn to the Top Panels, stretch out the skin and measure 1" away from the ends of the Ribs.Trim along that 1" allowance. Then move the straightedge away 1/2" and mark a line to crease for a 1/2" hem. Sew the hem.
I should have taken more pictures of how I sewed the bottoms of the Ribs. The short version is: Stop sewing at the stitches for the top of the Ribs.
The Trailing Edge of the Bottom Panels are trimmed 1/2" away from the edge of the Top Trailing Edge Hem, and marked and creased for a 1/2" hem.
But I am getting ahead of myself. I wanted to talk about the Keels and the Tabs. The Keels were marked and creased for 1/2" hems. Then a mark was placed on the GOOD side of the outside edge 1" away in each direction from the point of the Keel. Then a mark was place on the BAD side of the Keel, 1" in from the edge and 2-1/2" from the point-edge. Then the point of the Keel was folded to those marks. Again, I wish I had taken more pictures.
After the point is folded up (seamstick really helps!) marks are placed 2" away from the end. Below, see a 2" square used to mark.

A mark is placed 2" from the end, just inside the crease for the hem.
The white piece below is seamstick (double-sided tape). The black is 400 denier Oxford Nylon, one side coated. It has been cut to a 1" strip, folded in to thirds and sewn. The resulting ribbon was cut at 5-5/8" long. We need 4 of them.


Comments
Post a Comment